Lookout Mountain Mountain Launch Guide
Learn how to fly at America’s #1 USHPA CERTIFIED Free Flight Resort
Our Mountain Ground School Study Guide
Congratulations, you’ve made it to the mountain! You are about to join the exciting, select group of high-altitude hang glider pilots. You have developed the skills and knowledge to start learning the finer points of hang gliding. Don’t start celebrating too soon. There is still a lot for you to learn. In a sense, you are a beginner once again, because everyone you’ll be flying with is more experienced than you. To get to their level you will need the same serious attitude and willingness to learn that served you well during the initial training period.
Before you fly from the mountain, you must have complete confidence in your ability to fly and control the glider. As a pilot, you must take charge. If you have any doubts about your ability or skills, discuss them with your instructor now. More training hill practice may be advisable, or you may wish to take tandem flights as additional preparation for your first solo mountain flight. Most of the best pilots in the world felt the same way. You’ve worked hard to get here, and your success on the training hills should make your first mountain flight a thrilling, enjoyable experience. After all, the glider doesn’t know the difference between 50 feet and 1000 feet. The glider flies exactly the same from the mountain as it does from the training hill. So relax and have fun!
Please Be Advised: As a foot launch student, rental gear is subject to availability and is rented out as first come first serve.
BEFORE YOU LAUNCH
Before you launch a hang glider, there are 3 things you must always do:
1) UNDERSTAND YOUR FLIGHT PLAN
It is very important for you to have – and fully understand – a flight plan for your first mountain flight and for every flight thereafter. Having a flight plan means knowing and understanding what to expect and what to do in each part of your flight. Stick to your flight plan unless safety considerations require you to change it. For instance, if the wind in the LZ changes direction while you are air, adapt and replan your approach accordingly to land into the wind.
2) PREFLIGHT YOUR GLIDER AND ALL YOUR EQUIPMENT
Assemble the glider and do a thorough preflight inspection. If you are flying one of our Mountain gliders, be sure the washout tubes are mounted properly at each wing tip. Washout tubes aren’t used on all training hill gliders, but they are used for high altitude flying.
At the Pro Shop, check out an airspeed indicator to help you judge your airspeed during your flight. Before leaving the shop, check the airspeed indicator to make sure it is working properly. Turn the tube upside down and the disk should drop freely all the way to the bottom of the tube. Then turn it right side up and again the disk should drop freely to the bottom of the tube. Do not blow into the airspeed indicator; moisture will make the disk stick to the tube. Fly only with an airspeed indicator that is working properly. If you need assistance, talk to your instructor.
Don’t forget to thoroughly check your harness, helmet and wheels as part of your preflight inspection. As the pilot, it is your responsibility to thoroughly check your glider and equipment every time before you fly. If someone else inspects your glider – remember the inspection is ultimately your responsibility.
3) DO A COMPLETE HANG CHECK FOLLOWED BY A HOOK-IN CHECK
HANG CHECK
After carrying the glider to the launch ramp, hook into both hang straps on the glider, lock the carabiner gate, and do a complete lie-down hang check. Have someone hold the nose of the glider so that the glider is in flying attitude. Then lie down in flying position.
Check Distance/Clearance – Check the distance between the base tube and your chest. A distance of 3-5 fists (roughly the same distance above the bar as you had on the training hills) is ideal for early mountain flights when you are flying upright on the downtubes using Lookout Mountain Flight Park’s training harnesses.
After about your first four or five flights, you will begin flying prone with your hands on the base tube using our knee-hanger harnesses. When flying prone, you want to find the clearance that is most comfortable for you that is somewhere between a half to two fists distance (more or less).
Check Straps – Reach over your shoulder or under your arm and check your carabiner. Be sure you are hooked into two hang straps (main and backup). Squeeze the gate of the carabiner to be sure it is locked. Check your harness straps to be sure you’ve put the harness on properly (no straps twisted, tangled, etc). Reach down to your leg straps and feel them to ensure your legs are properly in the leg straps of the harness, and the straps will not come loose. Finally, check the chin strap on your helmet – make sure it is secure and not too loose.
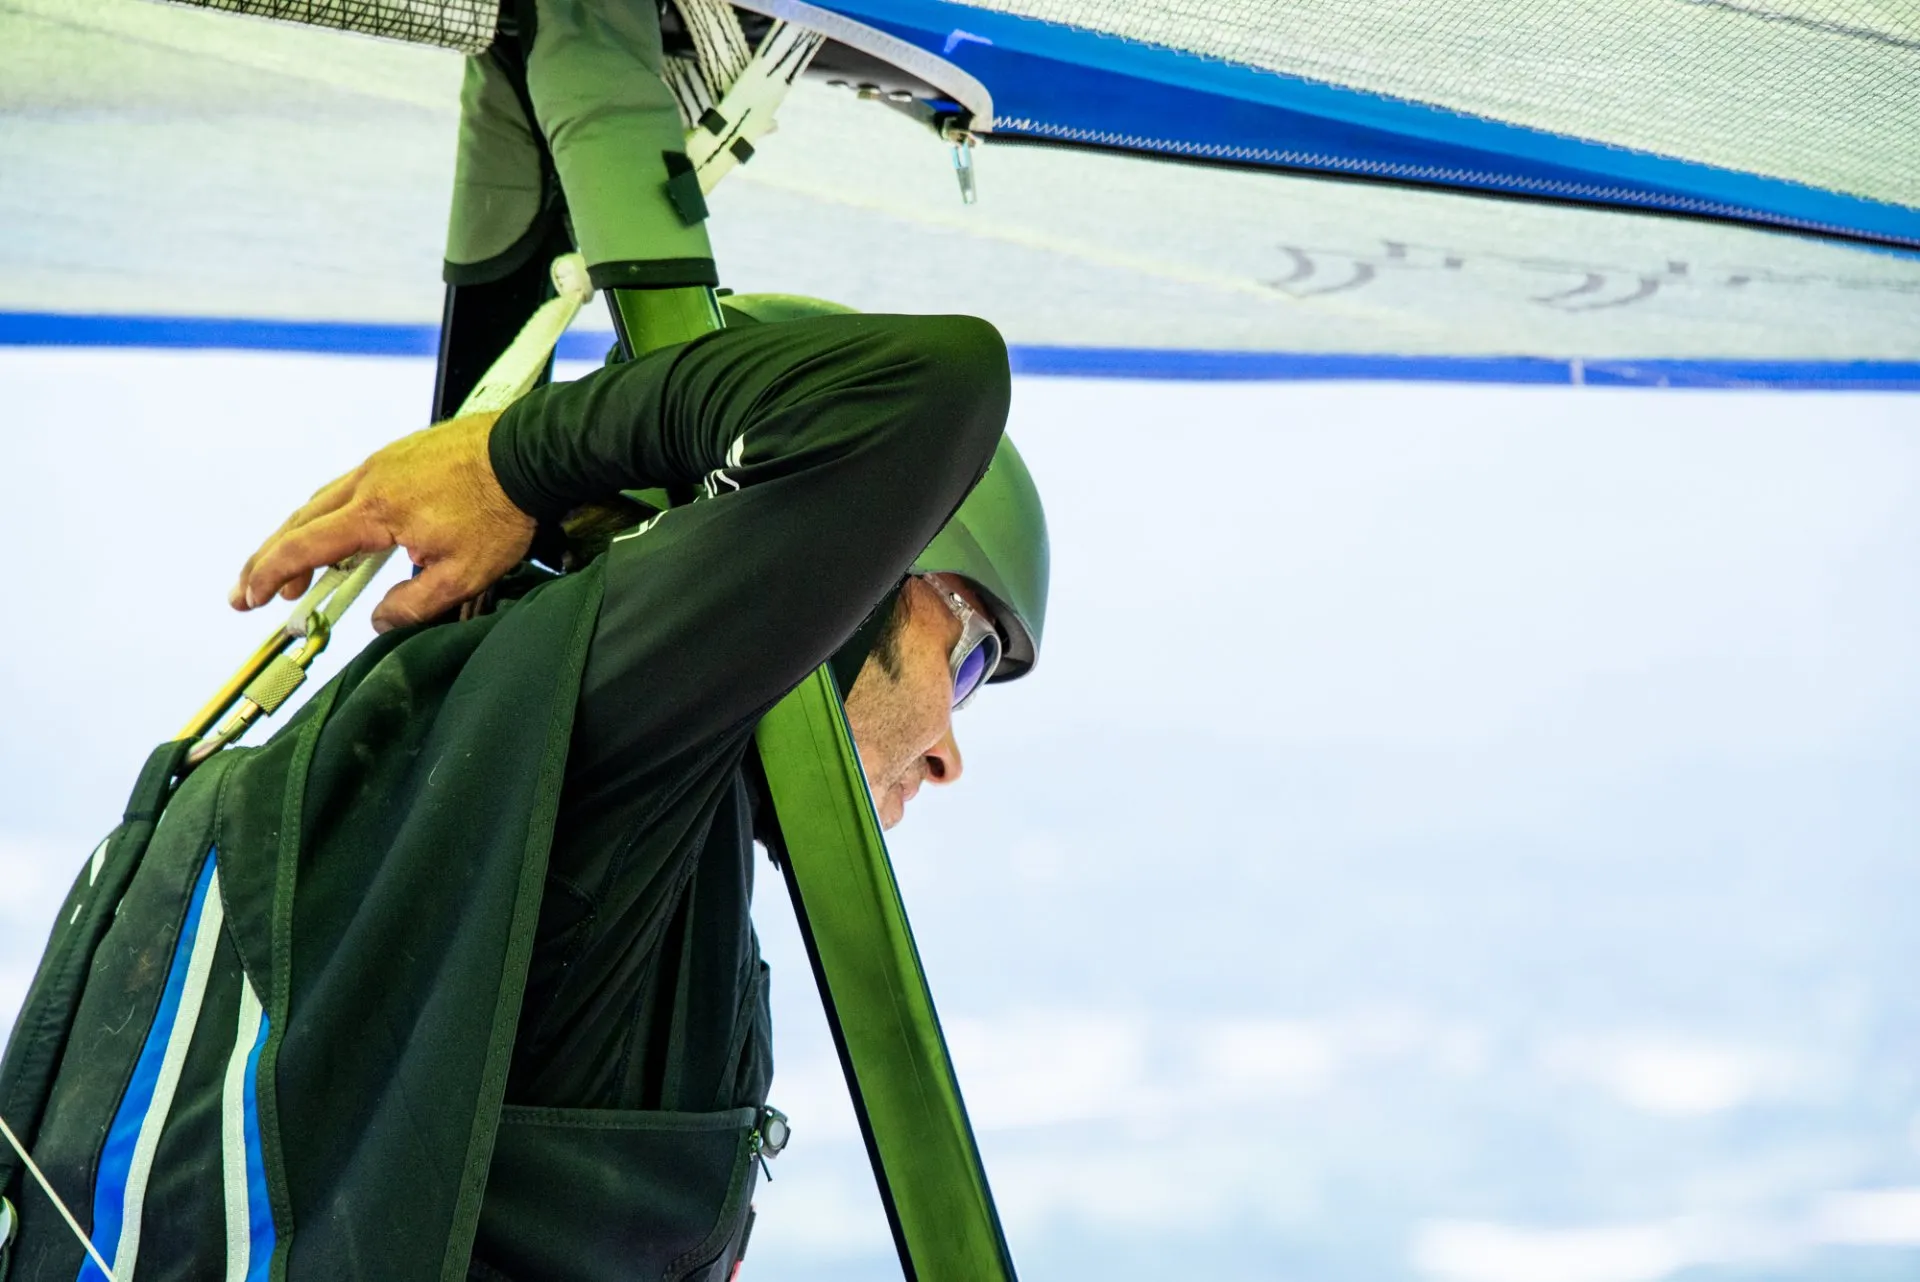
HOOK-IN CHECK
The last part of ensuring you are hooked into the glider properly is called a hook-in check, which should be done as a backup to the hang check.
With the glider’s base tube and the end of the keel both on the ground, step over the base tube (toward the nose). Stretch out until your harness straps are tight behind you. Reach around behind you and inspect the carabiner and hang straps. Squeeze the carabiner gate to be sure it is closed and locked. Look at the hang straps to be sure they are straight and not caught in anything.
Pre-Launch Review: EVERY TIME before you launch, you must:
UNDERSTAND YOUR FLIGHT PLAN
PREFLIGHT THE GLIDER AND ALL YOUR EQUIPMENT
DO A COMPLETE HANG CHECK AND HOOK-IN CHECK
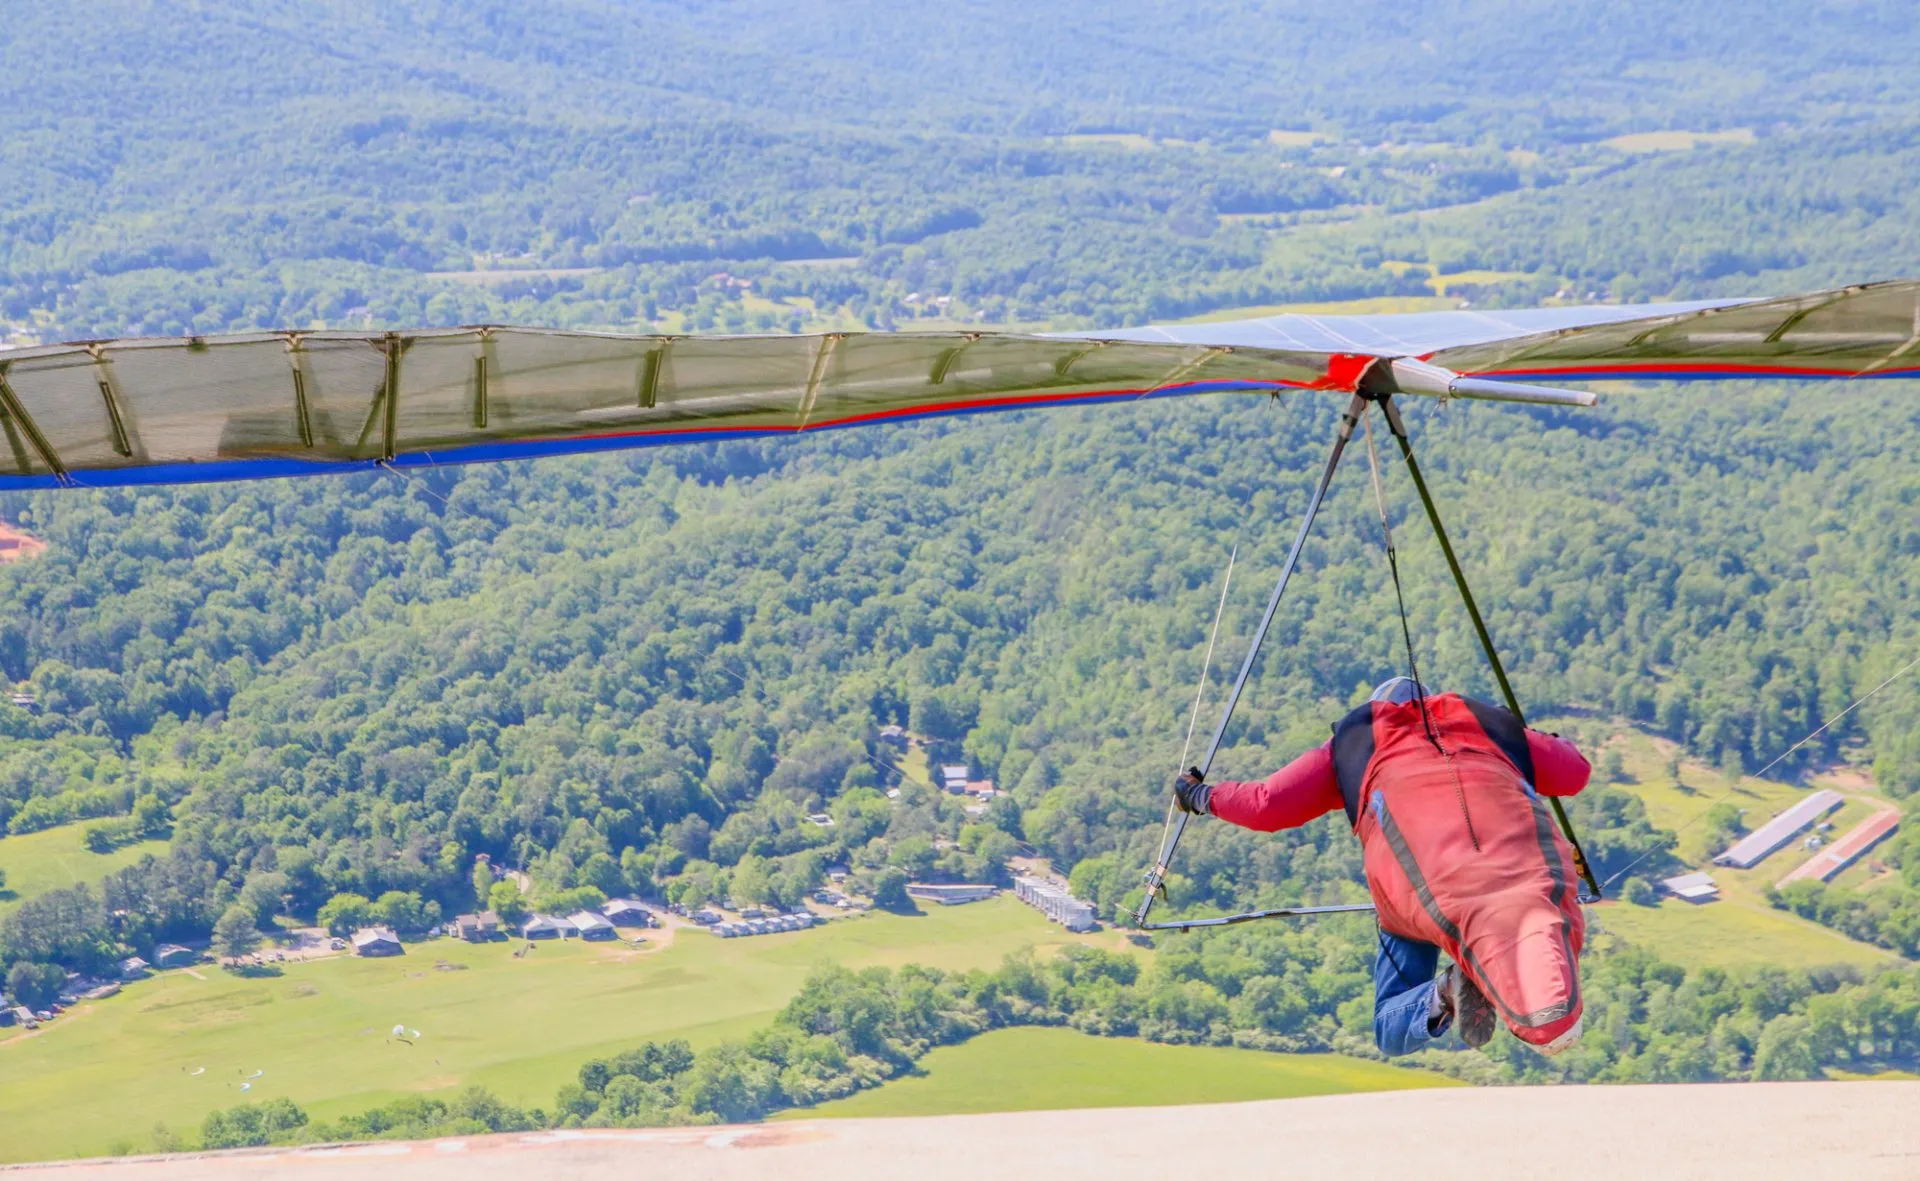
THE LAUNCH
Launching properly from the LMFP ramp is essentially the same as executing a good launch on the training hills. The three steps to a good launch are:
1. CONTROL YOUR PITCH AND BALANCE THE GLIDER
Pitch: Controlling the pitch (also known as the “angle of attack” or “nose angle”) of your glider and not letting your nose pop is the single most important thing to focus on during your launch run.
Our glider’s want to have an angle of attack of about 10-15 degrees above the vector of airflow. Our training hills are flat slope style launches so the air flowing up the hill has a far more horizontal trajectory compared to the cliff launch that is our radial ramp. Because the airflow has a much greater vertical component on LMFP’s ramp, you should set the glider’s nose angle slightly lower than what you are used to on the training hill. Your instructor will show you the correct nose angle.
Balance: Keep your wings level and the glider balanced on your shoulders. Keep your peripherals glued to your wingtips to make sure you are keeping your wings balanced before and during your launch run. Hold the down tubes of the glider using the same grip as you used on the training hill and actively manage the wing to make sure your wings remain level throughout your launch.
2.LOOK STRAIGHT AHEAD
Your target is where the top of Sand Mountain and the horizon meet. Keep your eyes on the target throughout your launch run, the launch, and the early part of the flight (until you are well away from the mountain).
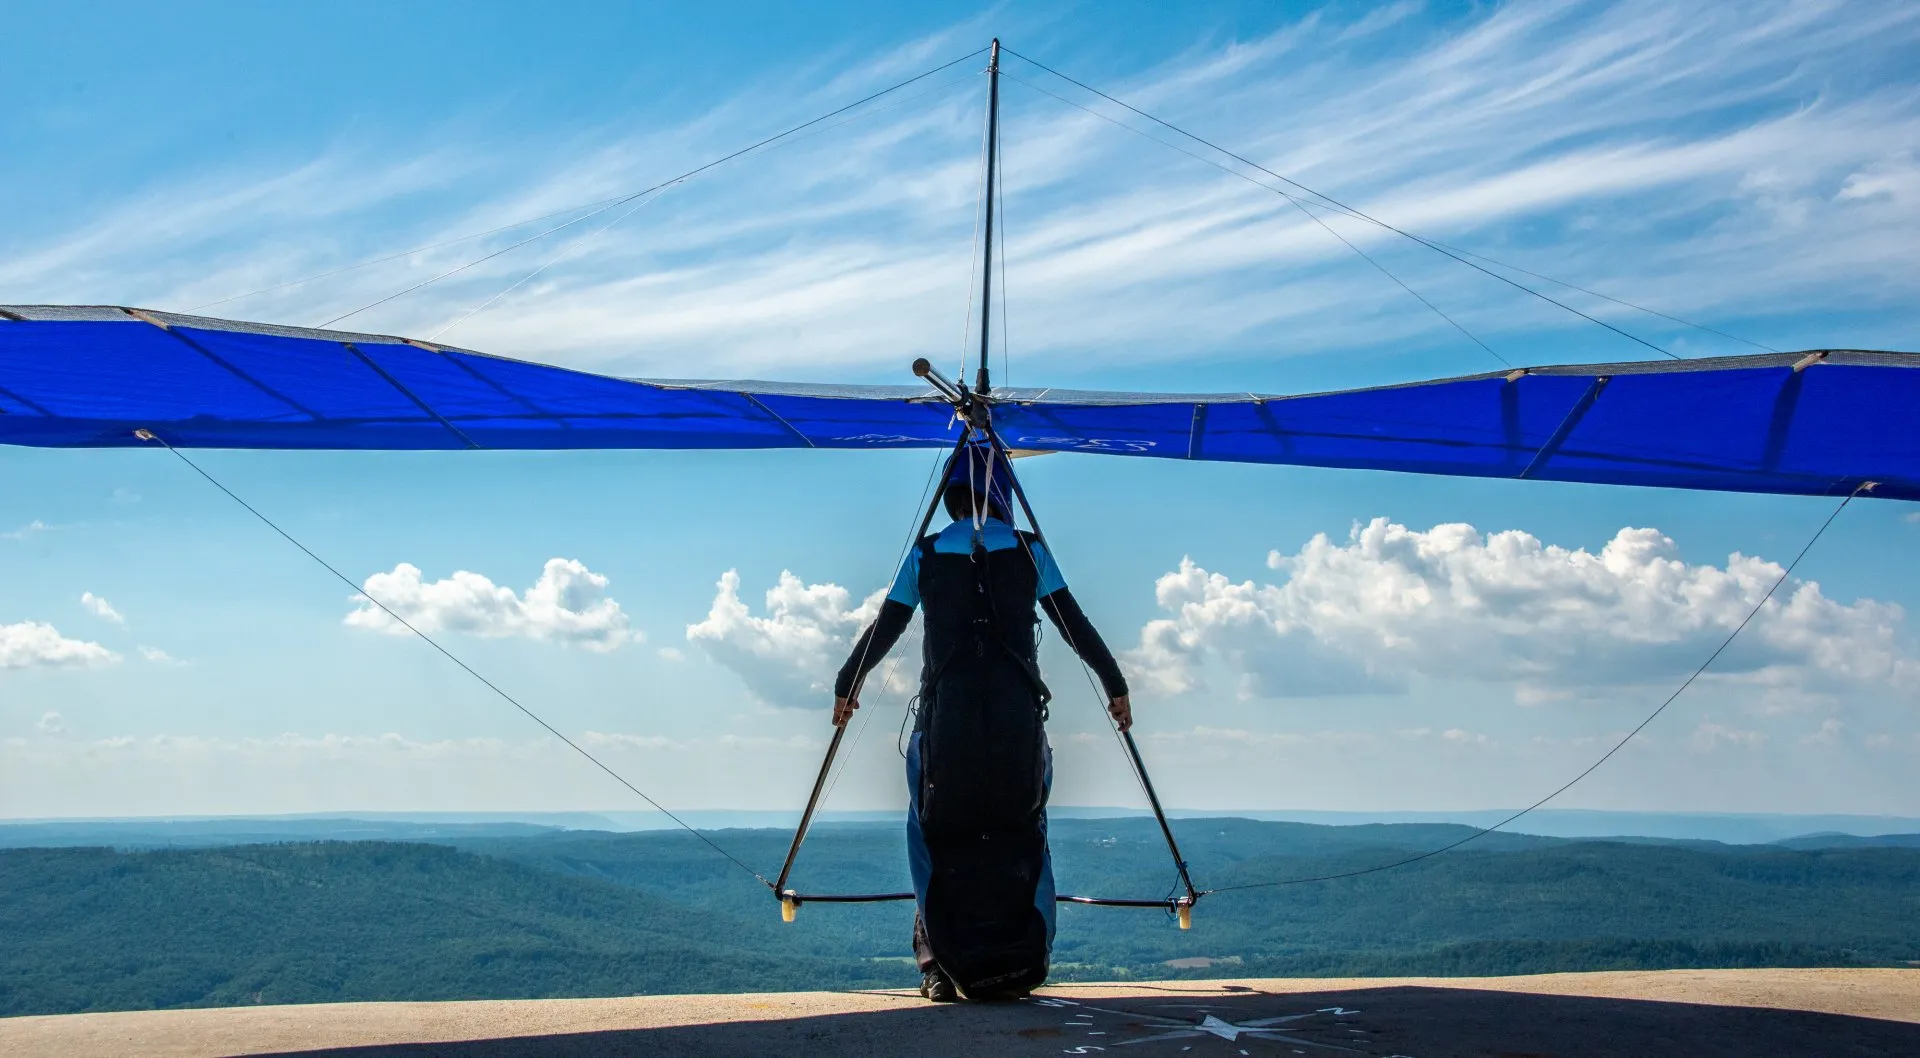
3.SMOOTHLY ACCELERATE THE GLIDER
Once everything feels good, you have a good cycle, your wings are level and pitch is set, say CLEAR and smoothly accelerate the glider and run all the way off the end of the ramp. When you start to run, remember to continue to control the nose angle of the glider. Controlling the nose angle and keeping your wings level and balanced during your launch run are much more important than trying to get extra running speed. If you try to accelerate too quickly, the glider’s nose will usually pop up, which will slow your airspeed and can cause the glider to dive in response or cause a wing to drop during your launch. Avoid stopping, jumping, hopping, or diving at the end of the ramp. A smooth run all the way off the end of the ramp will give you your best launch!
You will notice that the glider probably won’t lift off your shoulders during your run off the ramp, unless there is a slight headwind. This is because, in comparison to the training hills, your nose angle is lower and the distance you are running is shorter. Just drive the glider forward on your shoulders as you smoothly run off the end of the ramp. Actively manage your wing to keep the glider’s nose angle constant and the wings level throughout your run. Your harness straps may be slack during your run because the glider is still on your shoulders. This is not a problem. Just maintain that nose angle same throughout your run and smoothly accelerate into the sky!
Launch Review: During your launch, you must…
CONTROL YOUR NOSE ANGLE (SLIGHTLY LOWER THAN ON THE HILLS)
LOOK STRAIGHT AHEAD AT YOUR TARGET
SMOOTHLY ACCELERATE THE GLIDER
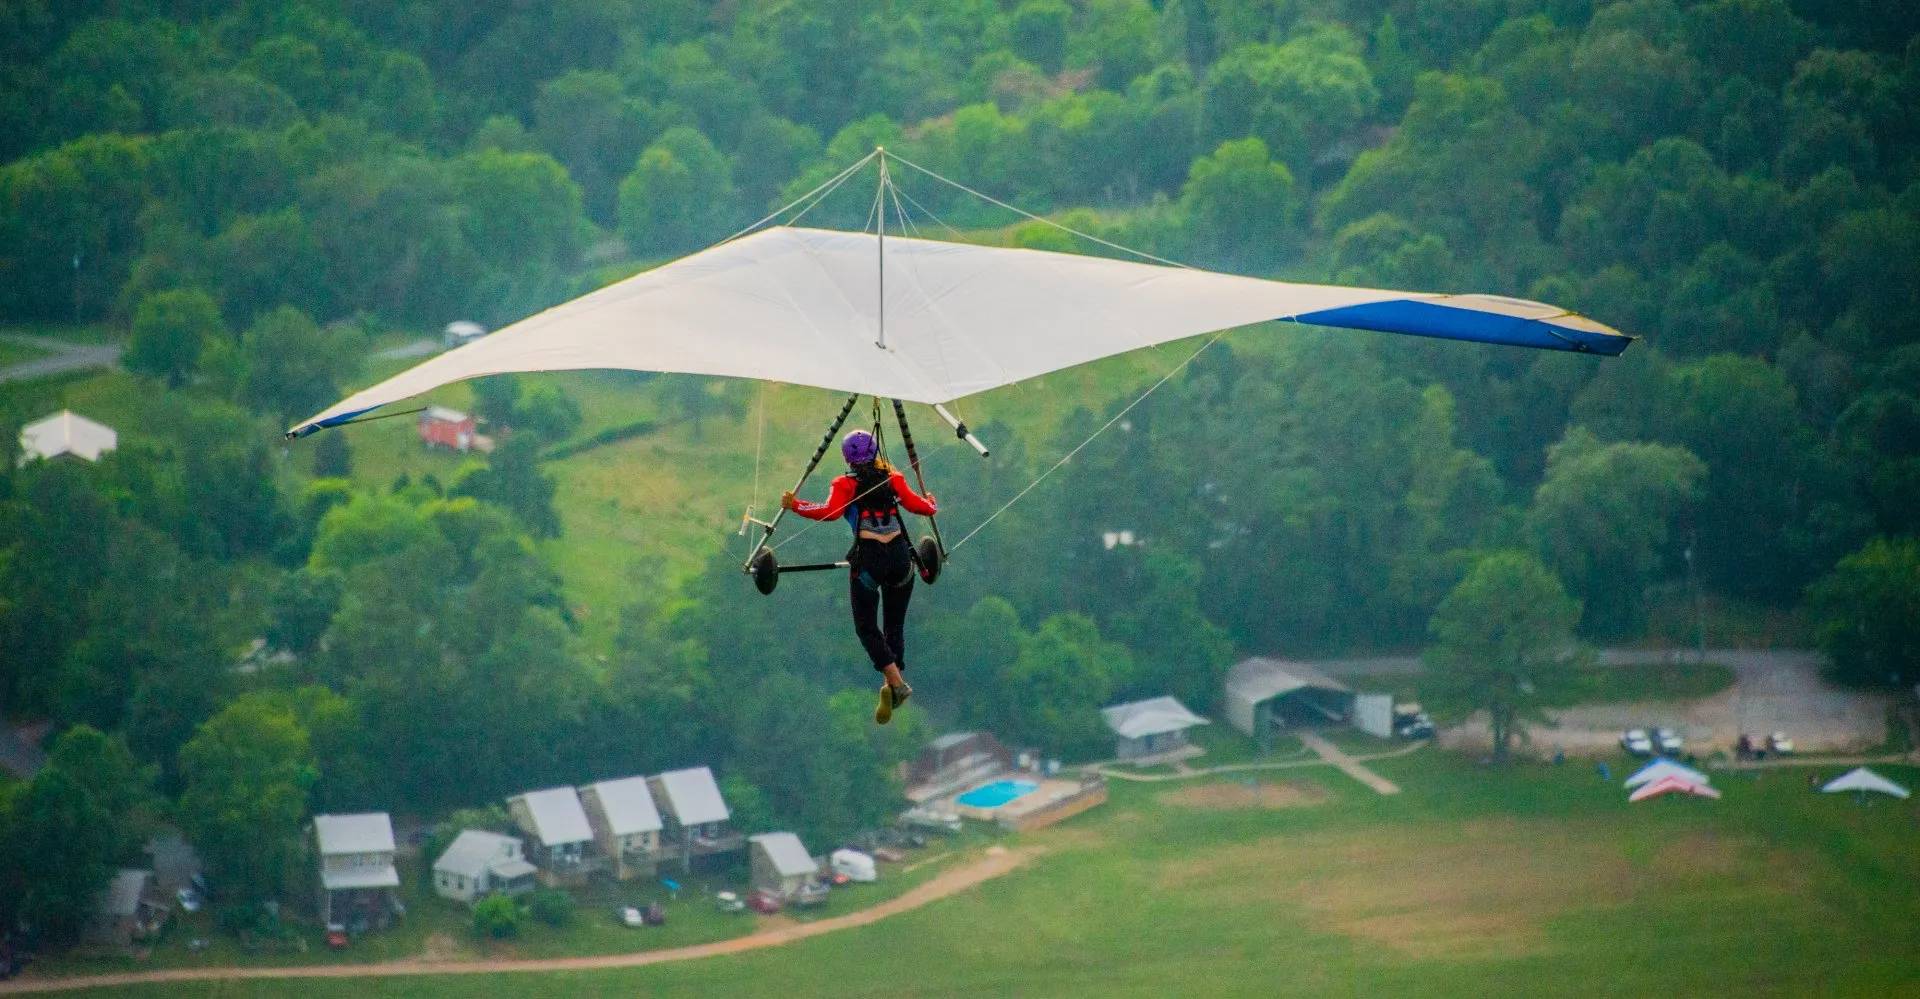
IN THE AIR
Once you are in the air, you should fly the glider away from the mountain, check your airspeed, and then find trim speed (in that order).
1.FLY THE GLIDER AWAY FROM THE MOUNTAIN TOWARD THE LANDING FIELD
As you fly away from the ramp, keep your eyes on your target; where the top of Sand Mountain and horizon meet. Looking down at the trees directly below will cause you to drift off course or over-control the glider. The horizon is your most stable reference point – that is where your eyes should be.
If you find yourself in a turn after launching and are not flying straight toward the landing field, do a gentle turn to correct and get back on course. Be sure you are leading with your hips and feet to turn the glider.
2.CHECK YOUR AIRSPEED ON THE AIRSPEED INDICATOR
You should be flying between 18 and 23 mph. If you suspect the airspeed indicator is not working correctly, ignore it and concentrate on flying the same airspeed (with the normal bar position and bar pressure) you have been flying on the training hills. You don’t need an airspeed indicator to fly a hang glider. The airspeed indicator is just there as a reference. The glider flies and handles exactly the same as it did on the training hill.
Flying Too Fast: One of the most common mistakes on a pilot’s first mountain flight is that they find themselves looking down and holding onto the down tubes too tightly. As a result, they end up flying too fast towards the trees because that is where they are looking. As they are flying too fast, a little control input goes a long way and they often end up over-controlling the glider.
Flying Too Slowly: Flying too slowly while out in the valley on your first mountain flights occurs much less frequently than flying too fast. However, many novice pilots fly far too slowly during their box pattern and approaches. Don’t do this, once you are over the LZ and initiating your approach pattern, fly fast! However, you should still be aware of the problems, like stalling the glider, that may be caused by flying too slowly.
The warning signs of flying too slowly and approaching a stall are (in order of importance):
1. The control bar pressing back against your hands as the glider tries to lower its nose in an attempt to regain speed as it is beginning to mush or stall.
2. The glider responds sluggishly to your roll inputs on the control frame.
3. The sound of the wind is much quieter and there is less wind against your face.
3.FIND TRIM SPEED
Sensing Airspeed: While maintaining your directional control, allow the control bar to gently and slowly move to its neutral position. Relax your hands without letting go of the control bar to help you feel where trim speed is. Trim speed is the neutral point where the control bar doesn’t want to move either forward or backward on it’s own.
When at trim speed, check your airspeed indicator. It should be display approximately 18 to 20 mph. If the glider is trimmed too slowly and flies below 18 mph, you will need to pull in slightly as the glider starts to mush and stall around 15-16 mph. You should not fly your glider any slower than 18 mph!
Porpoising: Porpoising is when the glider’s nose is gently rising and falling, again and again, like a porpoise jumping out of the water over and over. At trim speed if the glider begins porpoising, it means the glider is trimmed at too slow an airspeed and wants to continually recover from a mush or stall. No problem, this just means you need to fly the glider faster than trim speed, which you should be doing anyway. If you experience porpoising, it is best to fly the remainder of your flight right around 20 mph (except during your airspeed tasks and landing approach, which will both be described shortly).
Relax Your Grip: Just like on the training hills, use a light relaxed grip on the control bar so you can feel what the glider is doing. Maintain a light grip throughout the flight so you don’t unconsciously pull in or push out on the control frame. Keep your hands on the down tubes for the entire flight for every flight until you switch to a knee hanger harness. Cross your legs, it will help center your weight and prevent you from cross-controlling.
In the Air Review: Just after launch and while flying, you must…
FLY AWAY FROM THE MOUNTAIN TOWARDS THE LANDING FIELD
CHECK YOUR AIRSPEED AND FLY BETWEEN 18 and 23 MPH
FIND TRIM SPEED (16-18 MPH) AND RELAX YOUR GRIP
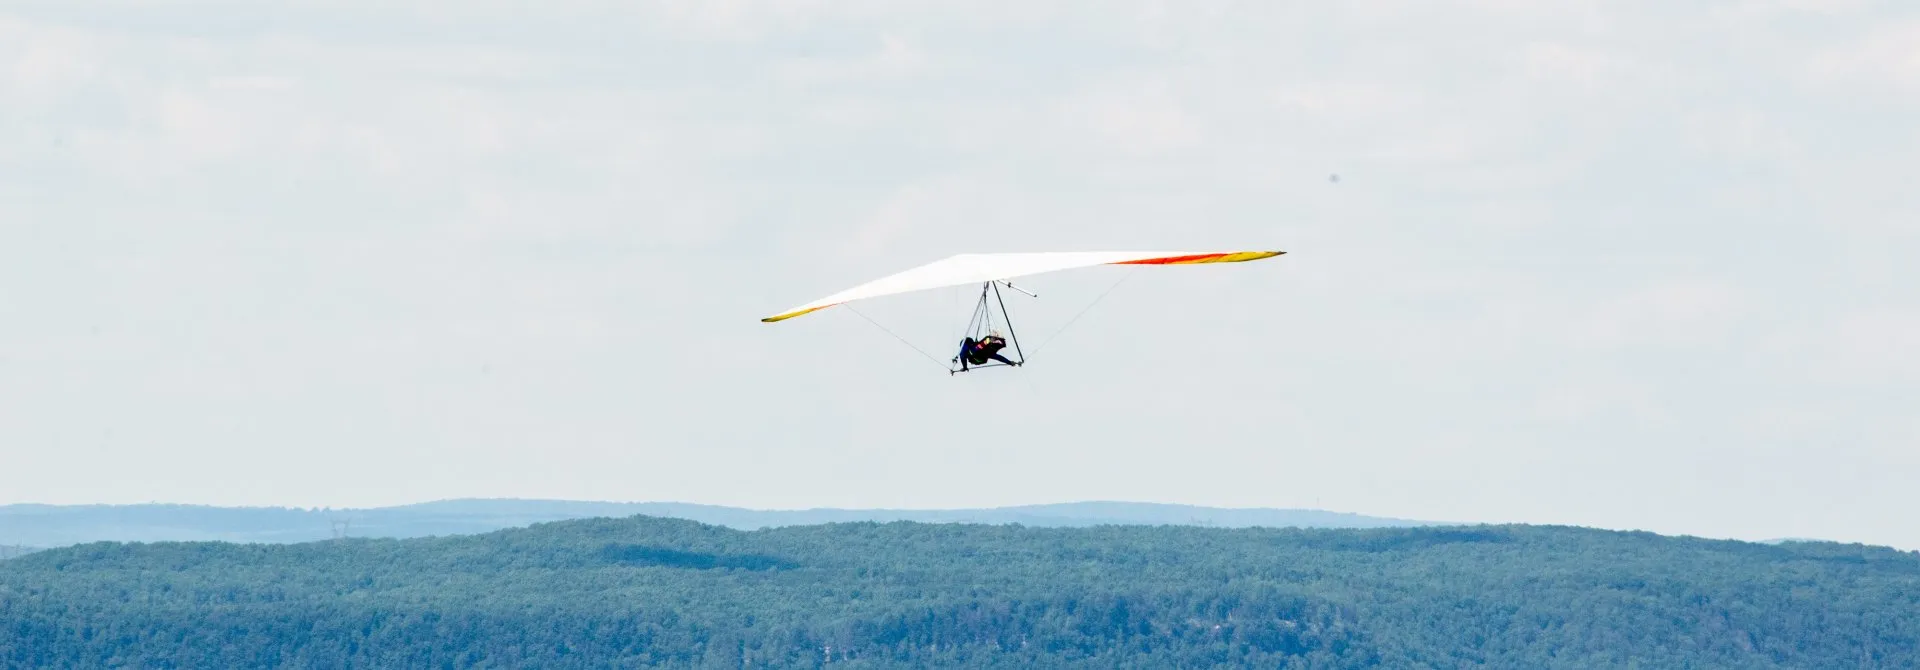
LEARNING SPEED CUES
Wait until you are away from the mountain before beginning these tasks. Pay close attention to your altitude. Make sure you always have plenty of altitude when you approach the Landing Zone.
Sensing the Glider: Check your airspeed. Let the bar out to trim speed. After finding trim speed, glance over at the airspeed indicator and try to fly at about 18 mph. Think to yourself, this is the control bar position to fly at 18 mph. This is how the bar feels at 18 mph. This is what the wind sounds and feels like at 18 mph.
Then, ease the control bar in a bit further to 23 mph. Think to yourself, this is the control bar position to fly at 23 mph. This is how the bar feels at 23 mph. This is what the wind sounds and feels like at 23 mph.
The faster you fly the more responsive your glider will become and the more you will hear and feel the wind. These are very important speed cues to learn.
Speed Cues Review: Look at the horizon and concentrate on these airspeed cues:
CONTROL BAR PRESSURE AND POSITION
ROLL RESPONSIVENESS
SOUND AND FEEL OF THE WIND
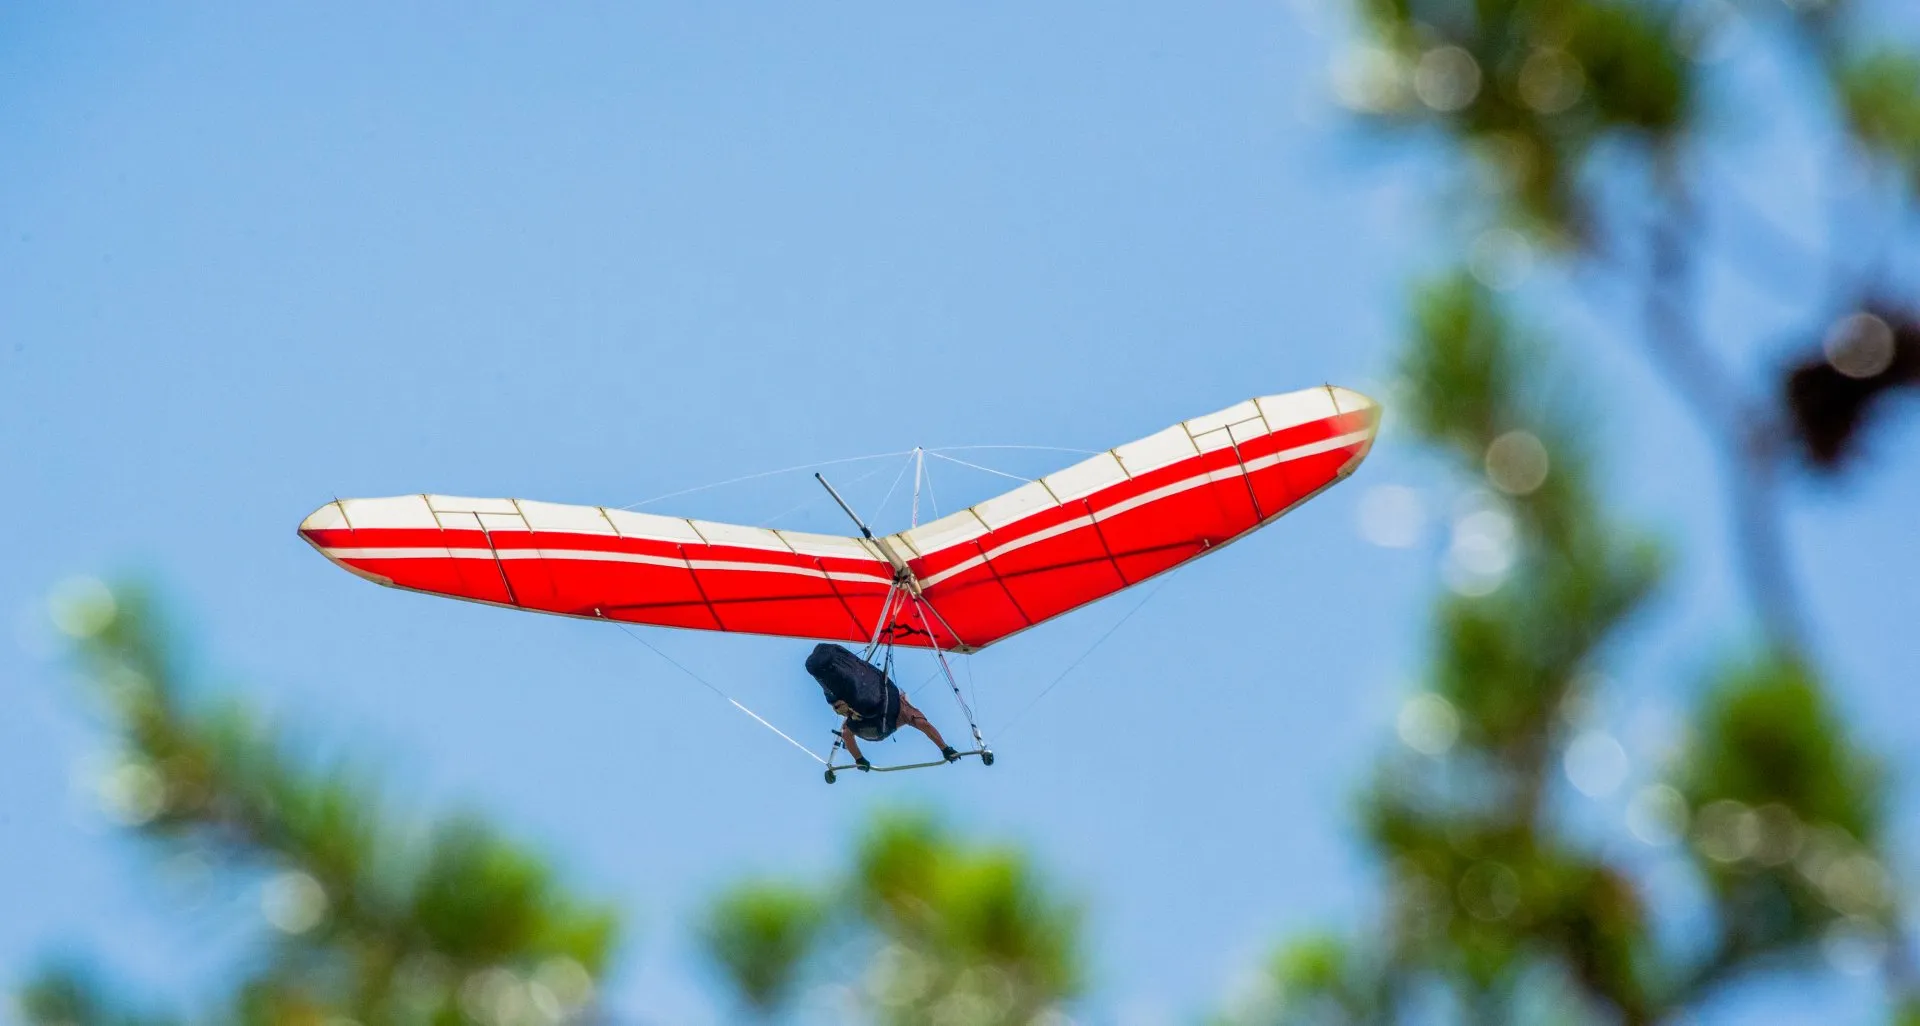
AIRSPEED TASKS AND PRACTICING SPEED CHANGES
After your first flight, start working on these tasks but pay close attention to your altitude! Make sure you always have plenty of altitude to arrive at the Landing Zone.
AIRSPEED TASKS
Okay, you’re tuned in a bit to 18 and 23 mph. Now let’s try to fly these speeds… without first looking at your airspeed indicator! Look straight ahead – then gently ease the control bar to what you think is 18 mph. Look at the airspeed indicator to see how close to 18 mph you are. Ease the bar in to what you think is 23 mph. Look at the airspeed indicator to see how close you are. If you have enough altitude, repeat a couple of times. After doing these airspeed tasks, you should fly the rest of the flight between 18 and 23 mph. Flying 23 mph may feel similar to doing your speed run on the Big Hill.
COMMON PROBLEMS
Flying Too Fast: In general it is better to fly a little too fast than too slowly. However, flying too fast can cause problems. Some pilots tend to over-control the glider. When you fly fast, the glider responds more quickly, and may oscillate in roll or yaw. Over-controlling is often caused by a combination of high speeds and too much pilot movement on the control bar. Like a car driving fast down a bumpy road, the glider will react more quickly at higher speeds. Small bumps (turbulence in the air) will feel like bigger bumps if you’re flying fast. High-speed flight also uses up altitude more quickly – the faster you fly, the more quickly you will descend.
Solution: If you find the glider oscillating (turning one way, then the other), slow down a bit. Relax your hands, and try not to move your body as much. This should dampen the oscillations. If you find yourself losing altitude too quickly, gently ease the control bar out to slow down. Then head directly to the Landing Zone.
Flying Too Slowly: Flying at a slow airspeed near obstacles (the mountain, trees, ground, etc.) can be dangerous. Always maintain enough airspeed to fly and easily control (turn) the glider. If you are flying too slow and the glider doesn’t have enough airspeed, it will stall. You should notice the control bar pushing back against your hands as the glider’s nose wants to come down to lower the angle of attack of the wings. The most important effect of flying too slowly is that it reduces the responsiveness of the glider during roll input, and the glider will not turn as easily. It will feel sluggish when you try to turn.
Solution: If you find that your glider does not respond or the control bar is pushing back, speed up a bit by pulling in the control bar slightly. This should increase your glider’s responsiveness and prevent a stall.
Confusing Airspeed and Ground Speed: Some students fly too fast on their mountain flights because they find that it is difficult to gauge their airspeed. Because prior to their mountain launches they have only flown at 120 ft or lower, they are accustomed to the ground moving more quickly beneath them. However, at higher altitudes, the ground beneath you seems to move more slowly, and you may unconsciously pull in on the bar to achieve the ground speed that you are accustomed to seeing. This is a mistake and a confusion of ground speed and airspeed. The glider does not have eyes; it cannot see the ground. The glider only feels the airspeed, which is the velocity of the air moving over the nose to the tail of the glider. Your airspeed has nothing to do with how fast or slowly the ground appears to be moving.
Solution: Don’t allow your eyes to tell you how fast (airspeed) you are flying.
Speed Changes Review: You should only work on the airspeed tasks after you are flying away from mountain and only while you still have good altitude
FLY AT TRIM (18-20 MPH) AND CHECK AIRSPEED INDICATOR
FLY AT SPEED (22-23 MPH) AND CHECK AIRSPEED INDICATOR
ALTERNATE BETWEEN THEM BUT WATCH YOUR COURSE AND ALTITUDE

COURSE CORRECTIONS AND TURNS
On your first flights, after launching the glider, fly straight toward the landing field and make any corrections necessary to stay on course.
IF THE GLIDER WON’T TURN
You are probably flying too slowly, cross-controlling, or having your hands to high on the down tubes. To correct this problem, ease the control bar in a little for more speed and concentrate on steering with your hips and feet. Try to make the smallest control movements that will do the job. Bump your weight over to the side; then immediately return to center. If the glider doesn’t respond, repeat that brief bumping motion. For small course corrections, think of your feet as your rudder. Keep your shoulders centered on the bar, and simply move your feet over in the direction you want to go.
WIND DRIFT AND CRABBING
If the wind is blowing from the left or the right, the glider may tend to drift to one side and eventually drift away from the landing field. You can correct for wind drift by aiming (yawing) the glider slightly into the wind; this is called crabbing. By keeping your weight shifted slightly to one side, the glider will fly a straight path toward the landing field, regardless of where the nose of the glider is pointed. That horizontal shift in your glider pointing towards the wind is your glider “yawing”. Keep your eyes on your target and fly toward it.
COORDINATED TURNS
For turns larger than minor course corrections, you should do coordinated turns, the same as you learned on the training hills. To coordinate a turn, initiate the turn with enough speed to maneuver, bank the wings and then let the bar come forward slightly as you approach your target. Once you are on course, ease in a little to regain speed and fly straight and level. This method should be used when making gentle to medium-banked turns.
A poorly coordinated turn may become a slipping or diving turn. This is where the glider slips toward the inside of the turn, losing altitude rapidly and increasing airspeed rapidly. Advanced rated pilots use slipping turns to descend quickly, but Novice pilots should not do slipping turns, especially at low altitudes or near obstacles. To avoid slipping turns, coordinate your turns by letting the control bar come forward slightly after banking your wings. If you inadvertently end up in a slipping turn, recover from it by easing the bar forward slightly as you level your wings.
Course Corrections and Turns Review: To maintain proper control, you must:
FLY FAST ENOUGH TO MAINTAIN GLIDER RESPONSIVENESS BUT BE CAREFUL NOT TO OVER-CONTROL
KEEP EYES ON TARGET SO YOU NOTICE ANY WIND DRIFT, CORRECT BY CRABBING IF NECESSARY
COORDINATE YOUR TURNS
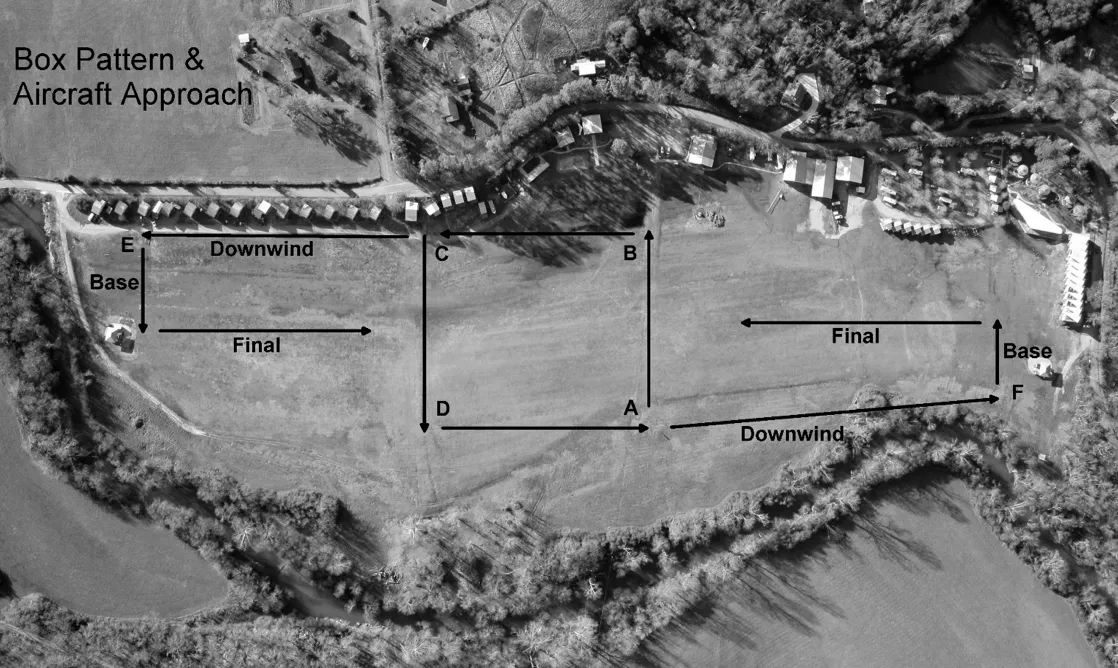
BOX PATTERN AND AIRCRAFT LANDING APPROACH
The Box Pattern approach is a basic approach pattern to guide students and novice pilots to an easy landing in the middle of the Landing Zone (LZ).
THE COMPONENTS OF THE BOX PATTERN TO BE WITH FAMILIAR WITH ARE:
The Box Pattern
Downwind Leg
Base Leg
Final Approach Leg
Depending on the conditions, how buoyant the air is, how fast you’ve been flying, and what glider you are flying, you should be coming over the LZ with 500 – 800 feet of altitude. As soon as you get over the LZ to enter the Box Pattern, you must now continually pay attention to how high you are relative to the tall pine trees behind the pool area and which way the wind is blowing because these will affect when and where you will head for your downwind leg. You can use the windsock, streamers, the flag in the parking lot, other gliders landing or smoke in the valley to determine the wind direction. On your first flights, your instructor will tell you which direction to land.
THE BOX PATTERN
The box pattern allows you to bleed off extra altitude while staying within the vertical confines of the LZ. Following this pattern, you remain over the relative center of the field, which enables you to enter a conservative downwind leg at any point from the Box Pattern. This pattern consists of 4 corner points like the 4 corners of a square or flat box and is shown in the picture above as points A, B, C and D.
When flying the box, you should enter the box pattern once you get over the field. Clear all your turns by turning your head and looking where you are going to go before turning. Remain inside the perimeter of the field. The box is used to stay in position until you are at the right altitude to start your approach. You are really performing an aircraft approach so be thinking ahead and planning your downwind, base and final legs according to the wind direction. At each corner of the box, perform smooth, coordinated, and gentle 90 degree turns. Always turn toward the inside of the field!
While flying the pattern, monitor your height relative to the tall pine trees across the road from the swimming pool and/or the white house on the hill across the road. Once you descend to three times the height of the pines, or almost level with the white house, exit the box and immediately turn on your downwind leg. This is really the beginning of your approach. Increase your speed to about 23 mph, the speed that you practiced at altitude, and hold that bar pressure throughout the rest of the approach as best as you can. Avoid flying too fast. You are looking for about 23 mph – again practice this at altitude to get a feel of the pressure required to fly at 23 mph.
Keep your eyes moving, you should be watching your flight path, looking for traffic and judging your altitude. Use your sense of feel to achieve proper airspeed and avoid staring at the ASI. It is OK to look at the ASI from time to time but just for a second at a time. It is better to be flying smooth and flying at different speeds that to be chasing the speed to nail exactly 23 mph. This will come with time, if it seems challenging at first. As you get low, avoid distracting yourself looking at the ASI. You should be able to sense your speed by feeling the bar pressure with your light grip. You should always feel that the bar wants to come out, which means that you are flying faster than trim, which is what you want! Work on having a light touch to really feel what the glider is doing.
DOWNWIND
Fly your downwind leg parallel to the LZ centerline on one side or the other of the field and not down the middle, while maintaining a safe distance from any obstacles, at least two wingspans or more. Flying down the middle will essentially split your available landing field in half, you do not want to do this. On your downwind leg you will either descend to within two creek side tree heights first, or you will reach the end of the field first, or these two markers will coincide. In each case this is the time to turn off the downwind leg of the approach and onto your base and final.
Regardless of what point you are at over the field on your downwind leg; when you descend to within two creek side tree heights, don’t hesitate to make your turn from the downwind leg onto the base leg and continue the turn onto final. Do this even if you are not as close to the end of the field as you expected to be. Our LZ is very long and there is plenty of length to land if you are somewhere close to within two tree heights. When flying with your instructor, pay special attention to the altitude that you turn from downwind to base to final.
If you reach the end of the field and you are still well above two creek side tree heights, do not fly beyond the end of the field. At the end of the field, make your turn onto your base leg and level out. Fly across the field. As you descend, make your turn from base onto final once you near two creek side tree heights or the edge of the other side of the field.
If you find yourself at the end of the field and are still very high, fly across the field to the far side of the landing zone and turn down the field like you were on final anyway but stay at the side or edge of the field about one wing span in from the creek side trees. Avoid flying down the middle of the field if you are real high at the end of the field. Either it will be obvious that you can land straight ahead or you will know that you will need to turn. If you can land straight ahead line up on the bulls eye and fly on in and land even if this takes you past the bull’s eye. If you decide that you will need to turn to comfortably get in the field, continue down field and once you are about one wing span above the trees on the creek side you can make your final turn with a shallow bank aiming toward the longest part of the field that you can turn to with the altitude that you have – stay on the side of the field until you are ready to turn. Level out before you get too low. If you are in doubt that you can land in the field, stay on the side of the field and proceed as above. If this happens, you were too high because you went on your downwind leg way too early. You will benefit from taking a tandem flight with an instructor to acquire the sight picture of when to head on your downwind leg of your approach.
Sometimes you will do the box eight times and sometimes not even one complete one. If you decide to enter your downwind leg too soon, you can bleed altitude by extending your downwind leg and then doing a full long base leg, opposed to just hooking it in for final. If you are still too high, you can stuff the bar by pulling in even more, put your legs straight down and go fully upright to maximize your profile and increase your drag on final to dump even more altitude.
Remember you may need to ease the control bar out slightly while still keeping some positive pitch pressure to help the glider ‘carve around’ efficiently in landing approach turns. Do not push out on the bar. Keep all approach turns shallow banked.
If you find yourself within one wingspan of the ground, about 35 feet, and still in a turn – a situation in which you should not find yourself in a normal approach – go ahead and level the wings out regardless of whether you are lined up with the runway. If you are on a flight path to hit something, look to where you want to go. This will help you turn to the heading that you need to go to.
Landing Approaches Rule of Thumb: It’s better to be a little high than a little low, and a little fast than a little slow.
Often pilots will let time and altitude will get away from them and before they know it they are much lower than they thought they would be at a given point. We hear “it snuck up on me and before I knew it I was low” all too often. Really focus on the approach and judging your altitude during your tandem flights.
BASE
This is the leg that takes you from the side of the field to the middle centerline of the LZ. This leg is often executed as an arcing turn rather than a defined leg. Remember to not let yourself get slow entering, during, or exiting this leg. You should hold onto extra airspeed on your downwind leg, so on your base you will need to release the bar out just slightly and let the glider ‘carve around’ in a nice coordinated turn to avoid slipping and losing extra altitude. But do not get slow and stay a safe distance from all obstacles!
FINAL
On final, first manage your air speed – you should be flying at about 25 mph. By this point you should have a target picked out at the other end of the field and be aiming for it with your eyes forward. Avoid looking down for any prolonged amount of time – just glance down quickly when you have to. It can be disorienting to be looking down as you approach the ground. Keep your eyes to the end of the field and keep your peripherals glued to the tips of your wings. While on final, you need to focus on actively managing the wing and doing everything you can to keep your wings level and speed up, this is vitally important!
LANDING
When you descend to about five feet off the ground in ground effect, level out by letting the bar out slowly, but avoid allowing the glider to balloon up in the process of rounding out and bleeding off speed. Keep the glider about five feet above the ground by utilizing your peripheral vision while maintaining your focus down the field. When the bar pressure reaches zero, you should be about four to five feet above the ground and at trim speed. Four to five feet of elevation is about the height you will want to level off at for flared foot landings. It is a good idea to establish this reference point and consistently aim for the same height on every landing. Get to trim speed and prepare to flare, FLARE and touchdown with zero forward ground speed.

FINAL POINTS TO REMEMBER
The timing for any part of your landing approach is completely dependent upon the conditions and your altitude. Slight variations and adjustments will therefore be necessary. There may be any amount of other air traffic over the LZ with you – but don’t freak, just focus on your approach; the others will probably give you tons of space as you’re in a student glider with big wheels. But you should still always be aware of where everyone else is. If you land in the runway, please unhook and move to the breakdown area as quickly as possible as there is probably a plane waiting to take off or land.
After your flight, your instructor will debrief you on the flight and log it in the First Solo Flights Log Book. It is also important for you to start logging your flights in your personal log book before you go to bed that night while it is still fresh in your mind. Write down what went well as well as important lessons learned, just as you should be doing throughout your training.
Congratulations, you have now officially embarked on your hang gliding journey! Now is the time to invest in your own hang glider and harness so you can fly fly fly! On your journey as a pilot you will never stop learning, try to take small steps and only introduce one new thing per flight at a time. Don’t seek out new and more difficult conditions, they will come to you. Avoid moving to new things until you have achieved proficiency with the skill you are working on. Be conservative and build your experience in different wind conditions incrementally. Fly fly fly and be safe!
SUMMARY
You’ve proven you can launch, fly and land the glider on the training hills, so you won’t be facing anything you can’t handle on these first mountain flights. The glider doesn’t know the difference between 50 feet and 1000 feet. Fly the glider the same way you did on the training hills. The best thing you can do to make your first mountain flights enjoyable is to RELAX WHEN YOU FLY. The glider will be easier to fly; you’ll have much better control and the flight will last longer! You have worked very hard to get here. Relax and have fun!
USHPA MEMBERSHIPS AND RATINGS
Every pilot must have a current United States Hang Gliding and Paragliding Association membership and current ratings appropriate for the flying site in order to fly. When you clear the hills and pass your written tests, we will help you join and sign off on you ratings. Information regarding ratings is available here. If you are on a VIP Package, your first year membership and the ratings fees are included with your package.
LOOKOUT MOUNTAIN FLIGHT PASS
You don’t need to purchase a flight pass until you have used up the supervised mountain launches in your package but, we may help you fill one out before your first flight from the mountain. The flight passes are not included in any of the novice training packages. It’s a club membership to Lookout and allows you to fly off the ramp, use the pool, etc…
Annual flight park memberships include access to all sites and are automatically renewed each year.
CHECKING OUT EQUIPMENT
You can find your glider in the red barn across the street. Ask an employee what the lock code is. Use the same size glider that you cleared the hills with. There are Falcon 2’s and Falcon 3’s. Make sure the glider size and model both match the base tube. After the glider is set up, you can ask in the shop for the key to the harness room to get the rest of your equipment. Remember to check everything out on the clip board in the office. When you return these items, please sign them back in. We have a night deposit box next to the stairs that you can drop harnesses and helmets in after hours. However, if you choose to use this method, you will need to follow up with a phone call during normal business hours to ensure that we received them and signed them back in for you. You will be held financially responsible if these items are not returned.
TRANSITIONING TO THE BASETUBE
You can make the switch to a knee hanger harness and fly prone from the base tube after you have flown three to five times from the mountain. Ask your instructor for the new harness hand out. After you have read it, check out the knee hanger harness and have an instructor brief you on the differences you can expect.
FLYING WHEN THE SHOP IS CLOSED
For mountain launching, if you are ready to launch between 9 AM and 6 PM on days that the shop is open, there is no fee for instructors. However, if you want to fly when the shop is closed, you will have to make special arrangements. As with private hill lessons, the fee is $50.00 and can be split between all students participating. If an instructor does stay with you, even if the conditions do not improve and you are not able to launch, they still need to be paid for their time.
Here are some times to keep in mind when wanting to schedule an instructor to supervise one of your first ten mountain launches:
NOON: This is the best time to check in with us about the conditions and let us know as soon as possible if you are interested in having an instructor stay after 6:00pm. If the conditions look good all afternoon you may want to get a few more flights in after the shop closes. Get a group together and coordinate rides up the mountain to make efficient use of your time and share the costs.
10:30 to 4:30pm Please check in to confirm that an instructor will be available and that conditions are favorable. This is a good time to find an instructor for early morning launches or get the ok to set up before the shop opens so you are ready to fly at 9:00am the next day.
9:00am to 10:30am and 4:30pm to 6:00pm Please be considerate of your instructors. These are the times when they are usually the busiest helping people fly and preparing for classes. If you wait until the last minute, you may lose out on valuable flying time.
During regular business hours: Be ready to set up at 9:00am sharp for a morning launch and 4:00pm for an afternoon launch. Check with your instructor before setting up as conditions can be tricky to judge when you are still new. Remember you can ask an instructor for permission to set up early so you are ready to fly right at 9:00am.
Sunrise to 11:00am and 4:00 to Sunset: These are usually the best times to fly for new pilots, that and calm overcast days.Plan ahead and get those first 10 flights knocked out!
RE-CLEARING THE TRAINING HILLS
You need to re-clear on the Big Hill if you do not fly off the mountain within seven days of clearing. After 10 mountain flights, you do not need to re-clear on the big hill. Make sure to schedule this with staff in the pro shop.
